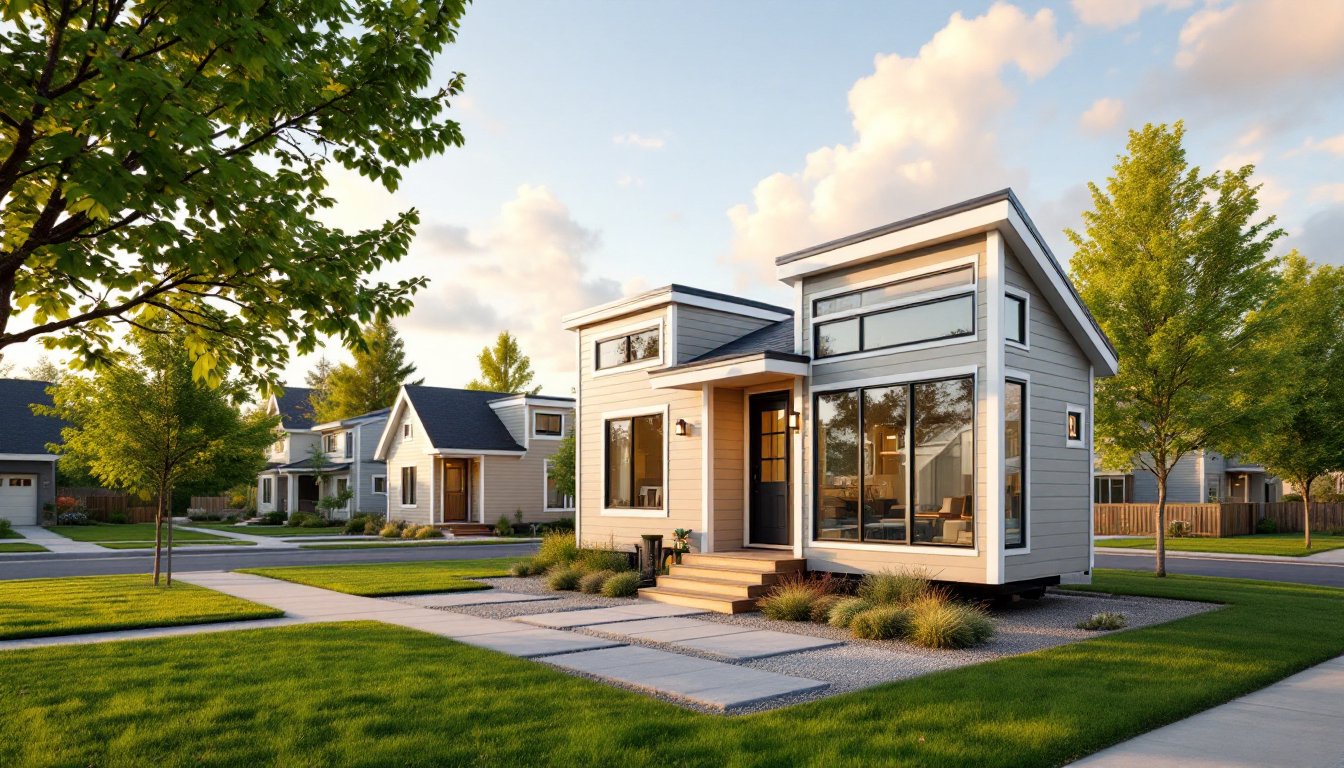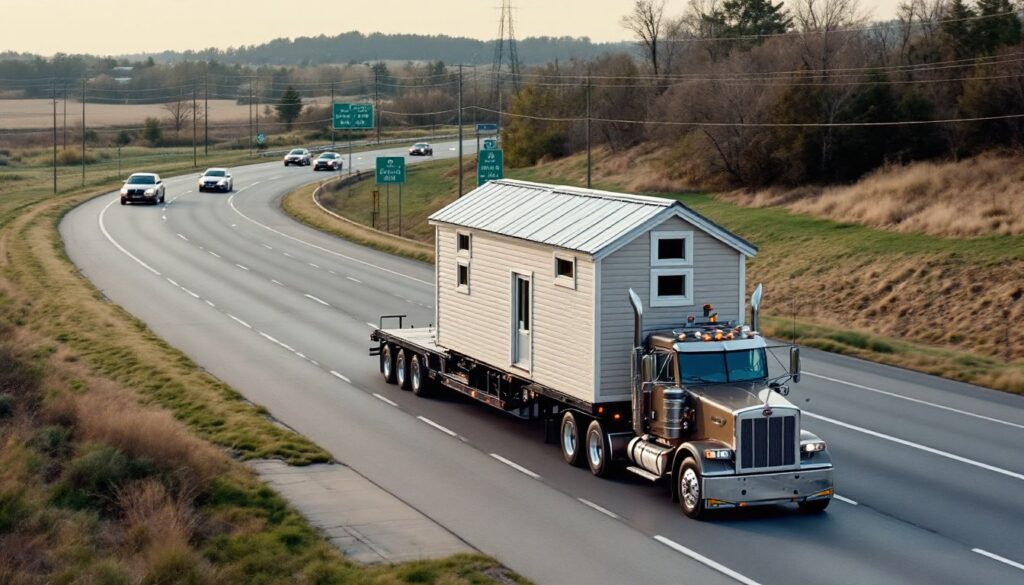

Backyard tiny homes, also called accessory dwelling units (ADUs), have shifted from niche curiosity to mainstream home improvement project. They solve real problems: adding rental income, housing aging parents, or creating a guest space without a major renovation. A backyard ADU can range from a compact 400-square-foot cottage to a 1,000-square-foot structure, depending on local codes and lot size. Unlike a full-scale home build, these projects are often completable in 6–12 months and at a fraction of traditional construction costs. For homeowners weighing whether backyard tiny homes make sense for their situation, this guide covers the essentials: zoning rules, realistic budgets, design principles, and the infrastructure work required to make it actually livable.
Key Takeaways
- Backyard tiny homes (ADUs) can be built in 6–12 months at a fraction of traditional construction costs, ranging from $150,000–$400,000 depending on size and location.
- Check zoning requirements first by contacting your local planning department, as ADU laws vary significantly by jurisdiction and some areas require conditional-use approval while others allow them by-right.
- A well-executed backyard tiny home can generate $1,200–$2,000 monthly rental income and add $50,000–$150,000 to your property value, making it a strong financial investment.
- Utility and infrastructure installation (water, sewer, electric, gas) typically costs $8,500–$20,500 and is critical to budget realistically before construction begins.
- Maximize a tiny home’s livability through open-plan layouts, strategic storage solutions, proper ceiling height, and outdoor spaces rather than expensive square footage.
What Are Backyard Tiny Homes and Why They’re Trending
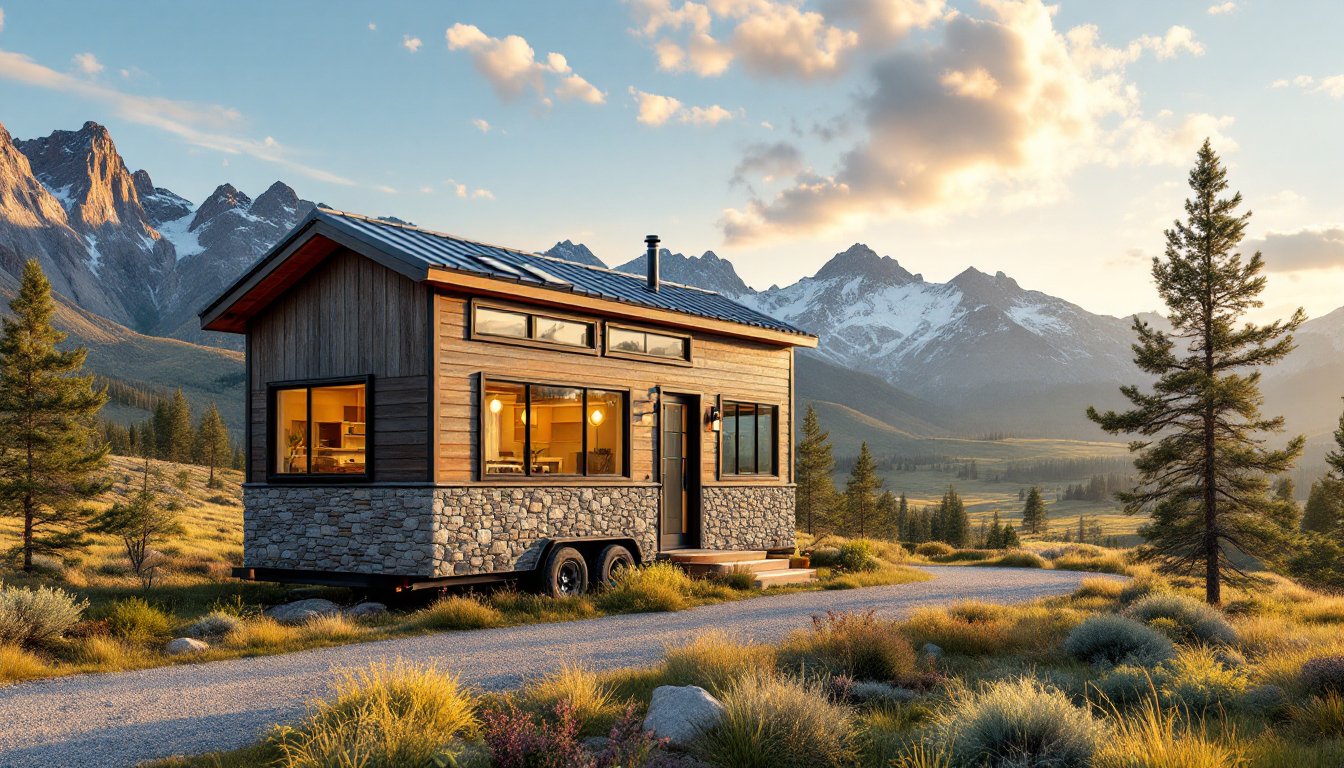
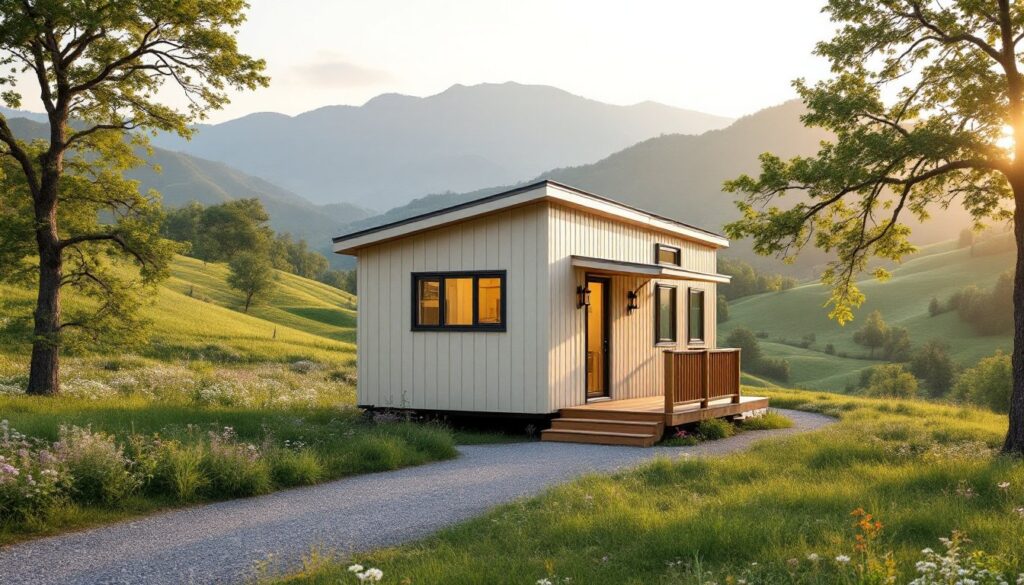
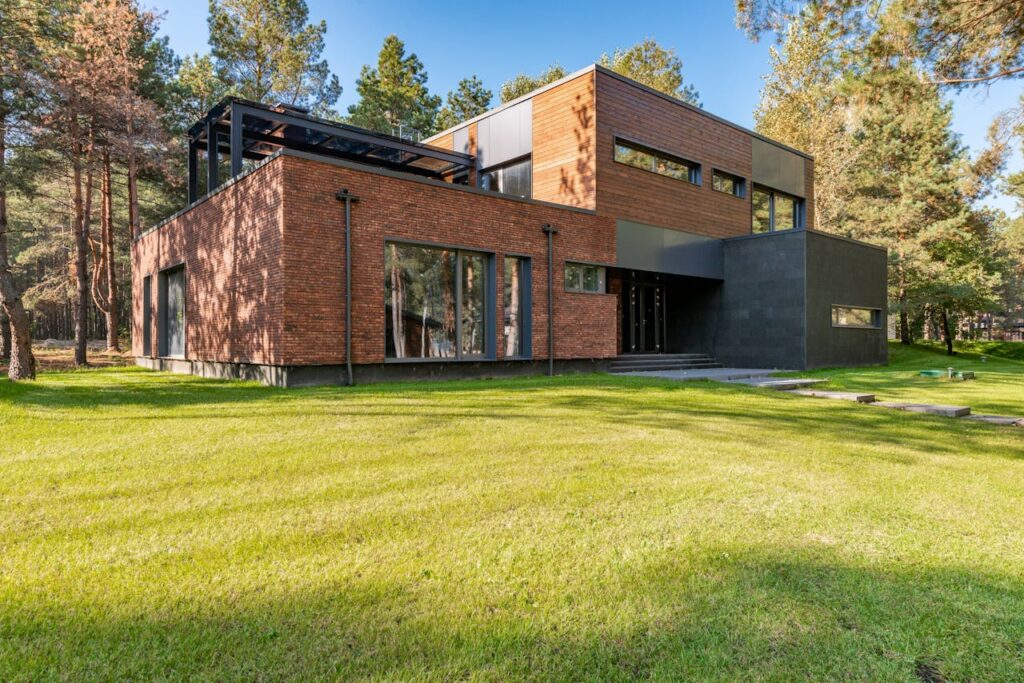
An accessory dwelling unit is a self-contained residential structure on the same lot as a primary residence. It includes sleeping, kitchen, and bathroom facilities and can be built as a freestanding structure, a conversion of an existing garage, or an attached addition. Sizes vary widely, some jurisdictions allow 400 square feet, others permit up to 1,200 square feet. The appeal is straightforward: rental income (often $1,200–$2,000 per month depending on location), multigenerational living space, or a private retreat without selling and relocating.
Traditional single-family zoning has historically banned ADUs, but that’s shifting fast. California, Oregon, Washington, and several Eastern states now allow them by-right in many neighborhoods, meaning fewer approval delays. Growing housing costs and labor shortages have made these units attractive to municipalities seeking affordable rentals. For homeowners, the trend means easier permitting, more experienced contractors, and proven resale value. A well-executed ADU can add $50,000–$150,000 to property value, though this varies by market and rental viability.
Budget and Financing Options for Accessory Dwellings
Budget hinges on size, finish level, and local labor costs. A 500-square-foot ADU typically costs $150,000–$250,000 (includes foundation, framing, electrical, plumbing, HVAC, and finishes). In high-cost metros like San Francisco or Boston, expect $250,000–$400,000. A 900-square-foot unit with mid-grade finishes runs $250,000–$400,000 nationally. These figures exclude land value and assume no major site complications like poor soil, steep slopes, or underground utilities.
Financing options include home equity lines of credit (HELOCs), construction loans, or FHA 203(k) rehabilitation loans if the main home qualifies. Some ADU-specific lending products now exist, particularly in ADU-friendly states. A few credit unions and community banks offer dedicated ADU financing with favorable terms. Before borrowing, confirm local rental income or resale potential, a lender won’t advance capital if the unit can’t generate returns or add value. Be transparent about permits and zoning compliance: lenders scrutinize incomplete or non-permitted work heavily.
Design and Layout Considerations
Maximizing Space and Functionality
Small footprints demand ruthless layout efficiency. An open-plan living-dining-kitchen works best: closed-off rooms eat square footage and feel cramped. Position the kitchen on one wall with a prep counter on the opposite side, this “galley” approach minimizes walking distance and keeps the space tight yet functional.
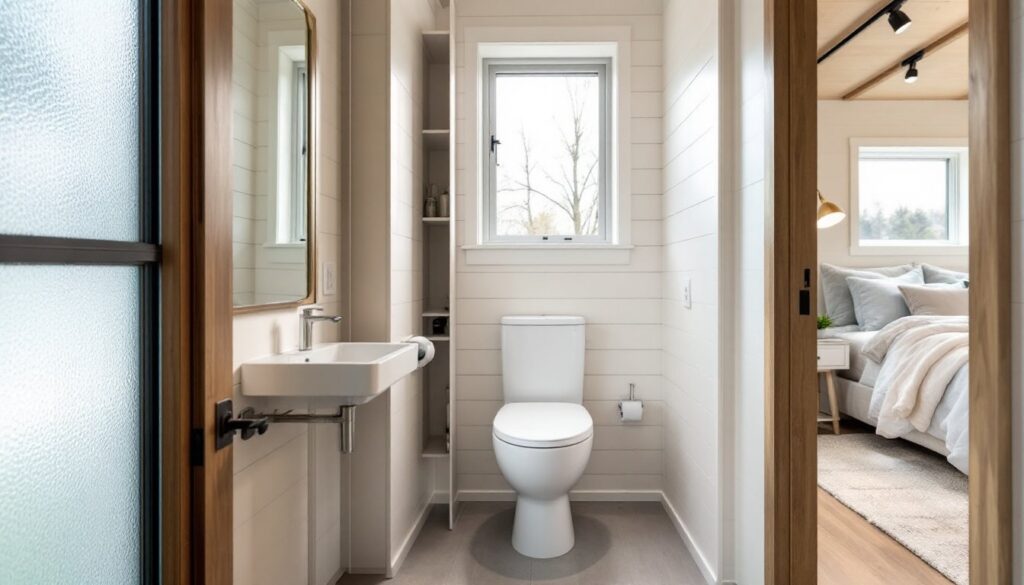
Bedroom placement matters. A 12-by-12-foot bedroom with full-size bed and dresser feels livable: 10-by-10 feet is minimum and benefits from built-in shelving to maximize floor space. Bathrooms should have a 5-by-8-foot minimum footprint for a toilet, sink, and shower. Stacking bathrooms and kitchens on a single wall reduces plumbing runs and lowers costs.
Ceiling height affects perceived space, 8 feet is standard, but 9 feet in the living area and 8 feet elsewhere can be negotiated with inspectors in some jurisdictions. Vaulted ceilings add visual airiness but increase heating and cooling loads. Large windows (at least 10% of floor area for daylighting) and proper insulation are non-negotiable: poor thermal control makes a small unit feel like a sauna in summer or an icebox in winter.
Storage is the secret weapon. Lofted sleeping platforms with drawers underneath, wall-mounted shelving, and a compact washer-dryer combo (many are 24 inches wide) help. Skip bulky furniture in favor of built-ins and multifunctional pieces. A Murphy bed isn’t mandatory but solves the “where do I sit if the bed takes up half the room” problem in ultra-compact layouts (under 600 square feet).
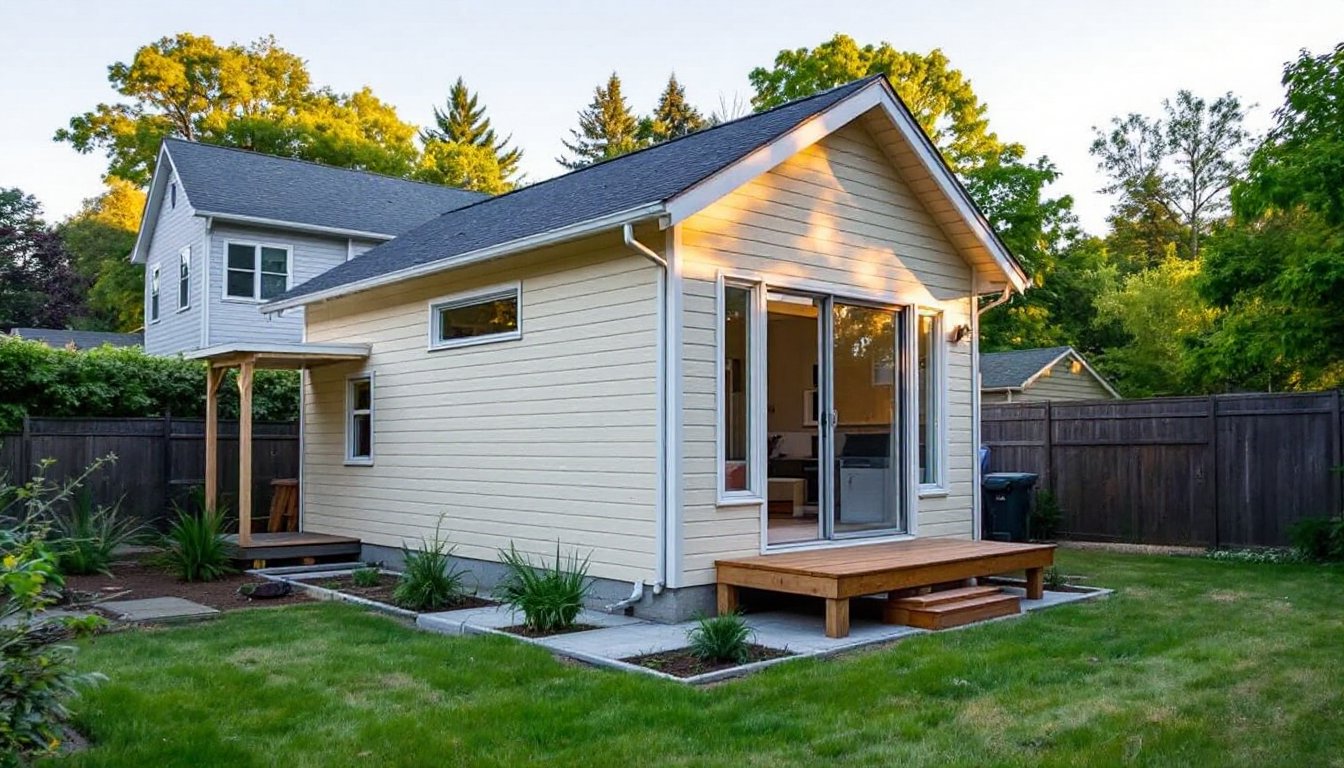
Outdoor space extends livability. A covered porch or patio (even 8-by-8 feet) becomes an extra room and adds value. Site the ADU to capture southern exposure in cold climates or provide afternoon shade in hot ones.
Zoning, Permits, and Legal Requirements
Check zoning before you design or budget. Call your local planning department or review the zoning code online, many municipalities now post them digitally. Ask three questions: (1) Is an ADU permitted in my zone? (2) What’s the maximum size and setback requirements? (3) Do I need conditional-use approval, or is it by-right?
Setback rules dictate how far the structure must sit from property lines and the primary home. Ten feet from the rear line and 5 feet from side lines are common, but they vary. A narrow lot might not accommodate a freestanding ADU: a converted garage may fit where a new structure won’t.
Permits are non-negotiable. Building permits, electrical permits, and plumbing permits cost $1,000–$3,000 combined but protect you legally and ensure the work meets code. Code requirements cover foundation depth (typically 4 feet below frost line, 12 inches in mild climates), framing standards (16-inch on-center studs for walls), electrical panel sizing (100-amp minimum, 200-amp preferable for full utilities), and egress windows (bedrooms must have operable windows or doors for emergency exit, 2.8 square feet minimum, per IRC 2021).
NOTE: Building codes are local and update every 3 years: verify with your jurisdiction. Some older neighborhoods have additional restrictions, homeowner association rules, historical district overlays, or deed restrictions can prohibit ADUs even if zoning allows them. A title search or attorney review ($300–$500) clarifies this and saves heartbreak mid-project.
If rental income is the goal, verify whether owner occupancy is required. Some jurisdictions mandate the owner live in the primary residence: others don’t. This affects your business model.
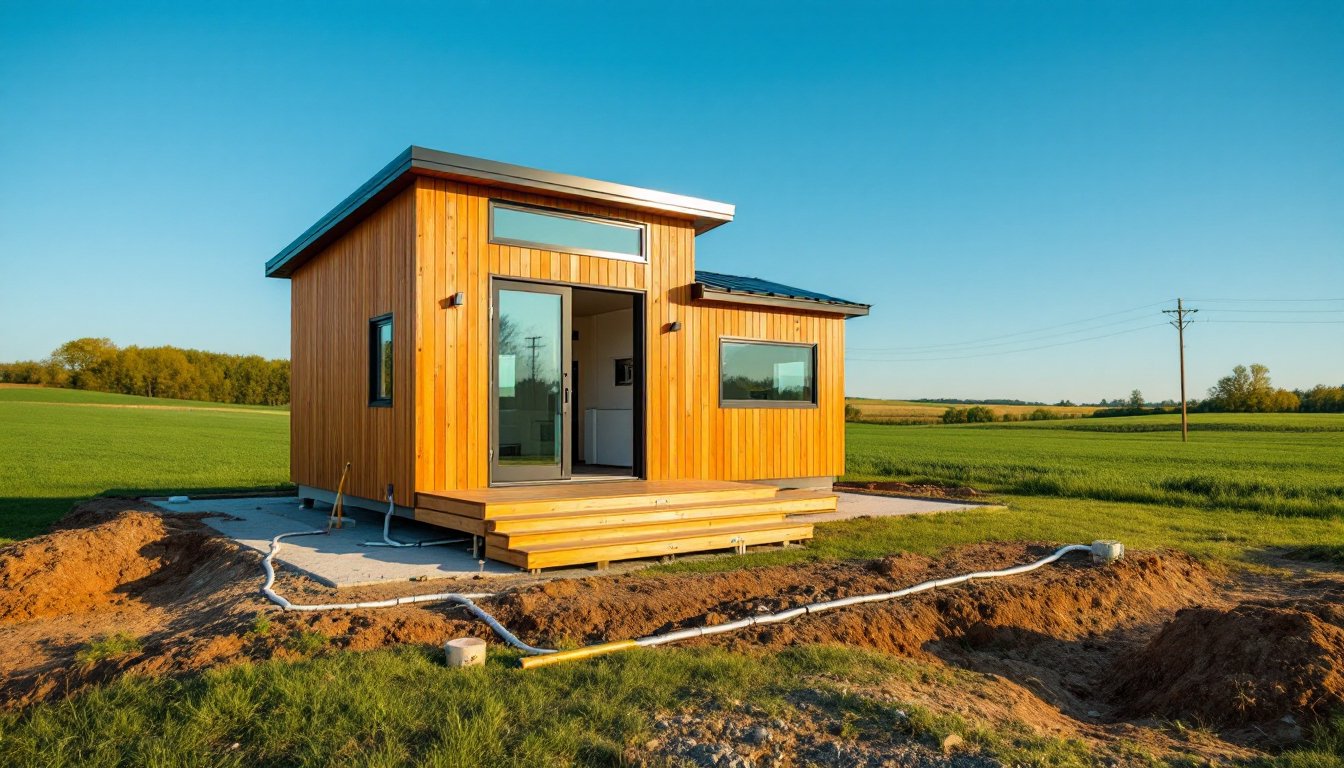
Utilities and Infrastructure Installation
Water, sewer, electric, and gas must either extend from the main house or rely on new utility lines. If the ADU sits 20+ feet from the primary dwelling, trenching separate lines often costs less than running everything under the driveway (which requires boring and conduit). Typical costs: water line, $2,000–$5,000: sewer line, $3,000–$8,000: electrical service, $2,000–$4,000: gas, $1,500–$3,500. These vary wildly by geology, distance, and whether utilities already exist on the property.
Electrical is critical. The main panel must have enough amperage: a 200-amp service is standard in newer homes. If your home has 100-amp service, upgrade to 200-amp (cost: $1,500–$3,000) before adding an ADU. Run a 100-amp subpanel in the ADU tied to the upgraded main, this separates circuits and satisfies code. Ensure conduit is buried 18 inches deep (36 inches under driveways) and labeled for future reference.
Sewer and water lines need slope, sewer drains by gravity at a 1/8-inch drop per 1 foot of run. A licensed plumber ensures proper pitch and avoids backups. If your lot uses a septic system, verify tank capacity: a 1,500-gallon tank handles a 3-bedroom primary home but may not support a second dwelling. Tank upgrades or secondary systems add $4,000–$10,000.
Heat and cooling: size the HVAC for the ADU’s square footage and climate. A 500-square-foot unit in a cold climate might need 5–7 tons of capacity: a ductless mini-split system ($3,000–$6,000 installed) is increasingly popular because it doesn’t require ductwork and zones separately. Insulation matters as much as the system, spray-foam or rigid foam under the floor, 2×6 walls with R-19 fiberglass (or R-24 closed-cell foam), and R-38+ in the attic keep conditioning costs reasonable.
Conclusion
Backyard tiny homes are no longer experimental, they’re a practical solution for housing, income, and land use. Success depends on three pillars: understanding your local zoning and permit requirements, budgeting realistically for utilities and infrastructure, and designing intelligently for the footprint. Start with your planning department, then consult a licensed architect or designer familiar with ADUs in your area. The upfront time spent on permits and design prevents costly mistakes and delays. With the right approach, a backyard ADU becomes a functional asset that works for decades.